WLED: Wi-Fi control for addressable LED strips on ESP32
The go-to firmware for controlling WS2812B and similar LED strips from a phone, with 100+ effects and Home Assistant support.
Key Facts
- Chip: ESP32 / ESP8266
- LEDs: WS2812B, SK6812, APA102 and more
- Control: web UI, app, Home Assistant, MQTT
- Protocols: E1.31, DDP, Art-Net
About This Project
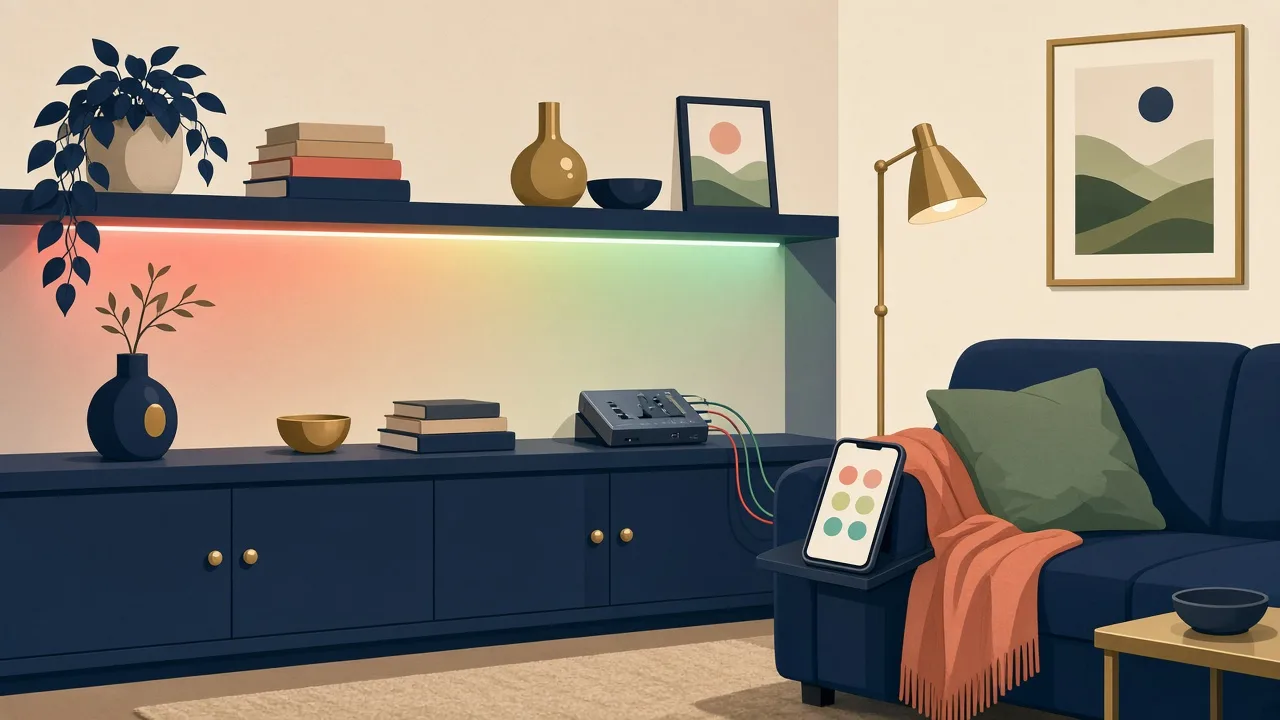
WLED is firmware that turns an ESP32 (or ESP8266) into a web-controlled LED controller for addressable strips like WS2812B and SK6812. It ships with a huge effect and palette library, segments, presets, playlists, sound-reactive forks, and integrations for Home Assistant, Alexa, MQTT and E1.31/DDP lighting protocols. A beginner can flash it from the browser and have lights running in minutes, while advanced users build whole-house and holiday displays on it.
Source & Attribution
Parts Needed
- ESP32 (or ESP8266) dev board
- Addressable LED strip, e.g. WS2812B
- 5V power supply sized for the strip (up to ~60mA per LED at full white)
- Optional: level shifter (3.3V to 5V data), 330Ω resistor on the data line, 1000µF capacitor across power
Steps
- 1
Wire the strip
Run the strip's 5V and GND straight from the power supply, share GND with the ESP32, and connect data to the GPIO WLED uses by default (GPIO2 on most ESP32 builds; you can change it later). A level shifter makes data more reliable.
- 2
Flash WLED
Open install.wled.me in Chrome or Edge, connect the board over USB and click Install.
- 3
Connect to Wi-Fi
Join the WLED-AP hotspot (the password is in the docs), then enter your home Wi-Fi details on the captive page.
- 4
Set up LEDs
In Config > LED Preferences, enter the LED count, type and data pin. Turn on the brightness limiter to match your supply's current.
- 5
Integrate
Install the WLED app, or let Home Assistant discover the device automatically. Save effects and colours as presets and playlists.
- 6
Tips
Inject power every few hundred LEDs to avoid colour drift. Usermods add audio-reactive effects, sensors and displays.
Not included: 3D-printed case, wire, solder, USB cable
Related Projects