Tinytron: tiny ESP32-S3 retro TV desk toy
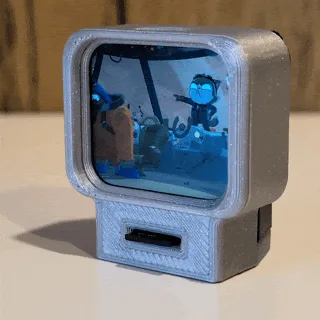
A pocket mini TV that plays MJPEG video from microSD or Wi-Fi on Waveshare's ESP32-S3 1.69in board.

Photos
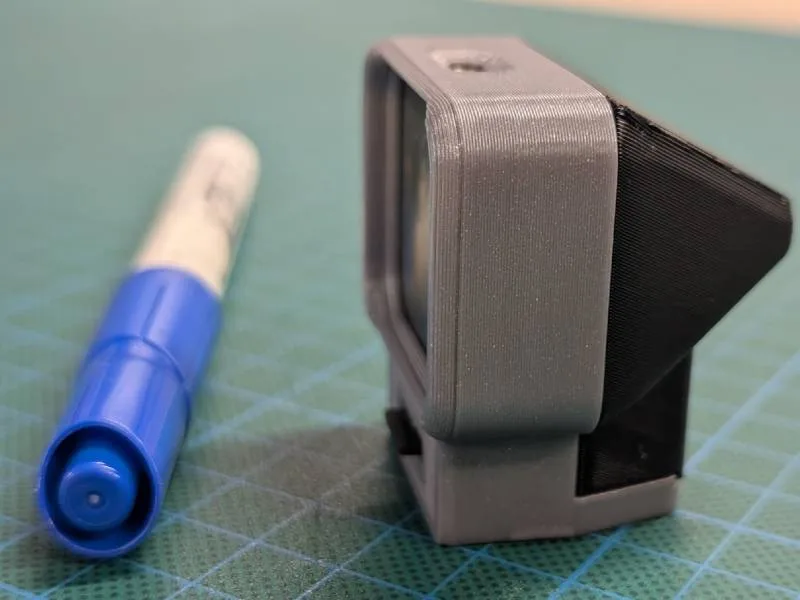
Photos: t0mg/tinytron
Key Facts
- Chip: ESP32-S3
- Display: 1.69in 240x280 LCD
- Media: MJPEG from microSD or Wi-Fi
- Cost: ~30 EUR per creator
About This Project
Tinytron is a tiny retro-TV desk toy built around the Waveshare ESP32-S3-LCD-1.69. It plays JPEG images and MJPEG videos from an SD card or streams from a computer over Wi-Fi, runs on battery, and is controlled by a single button and a web UI. The creator designed it to be cheap (around 30 EUR), need only one header soldered, and use a quick-printing snap-fit case.
Source & Attribution
Parts Needed
- Waveshare ESP32-S3-LCD-1.69 (non-touch version; V2 board revision by default)
- microSD card breakout board with 6-pin header
- microSD card, FAT32
- Small 3.7V LiPo with a JST 1.25mm connector (the common PH2.0 plug won't fit)
- 3D-printed case (4 parts, PLA), plus glue and electrical tape
Steps
- 1
Print the case
Print the front, back, bezel and button parts. The README lists which face goes on the print bed and where to add supports. Each part takes about 30 minutes on a Prusa MK4S.
- 2
Prepare the SD wiring
Solder the header to the SD breakout. Using the dev board's bundled IO cable, cut or de-pin the unused wires, then connect 3V3, GND, MOSI, MISO, CLK and CS to the pins listed in the README. Label the plug, because inserting it backwards swaps 3V3 and GND.
- 3
Assemble
Glue the bezel to the front, then fit the display, board and battery in the order shown in the video. The tolerances are tight and the glass is fragile, so take it slowly.
- 4
Flash from the browser
Use the web flasher on the project's website with Chrome or Edge. If you have a V1 board, change SYS_EN and SYS_OUT in platformio.ini and build it yourself with PlatformIO instead.
- 5
Load content
Convert your videos with the project's in-browser transcoder and copy them to the SD card. Alternatively, join the device's Wi-Fi access point and stream from your computer through its web interface.
- 6
Use it
Press the button once to pause, twice to skip and hold it to switch on or off. The web panel handles Wi-Fi settings, the auto-off timer and OTA updates.
Not included: 3D-printed case, wire, solder, USB cable
Related Projects