SmartKnob: haptic knob with virtual detents (ESP32-S3)
A haptic input knob with software-defined detents and endstops, built from a BLDC motor, encoder and round LCD on ESP32.
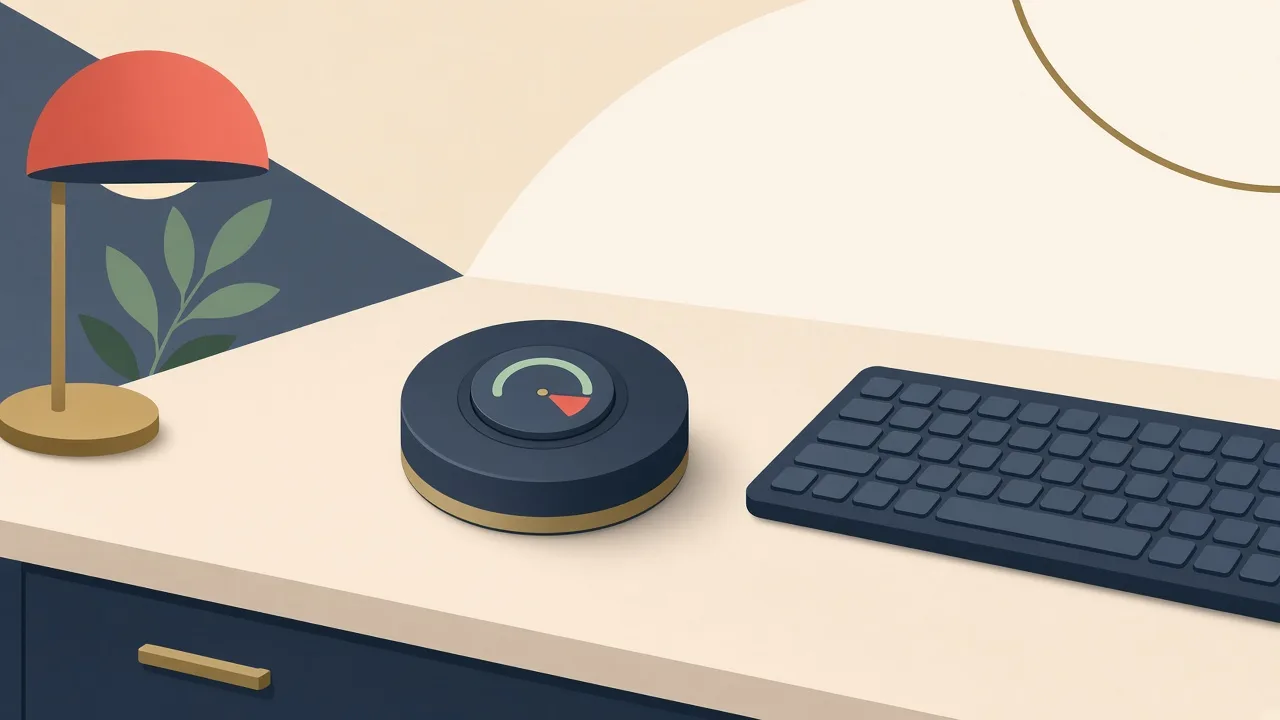
Photos
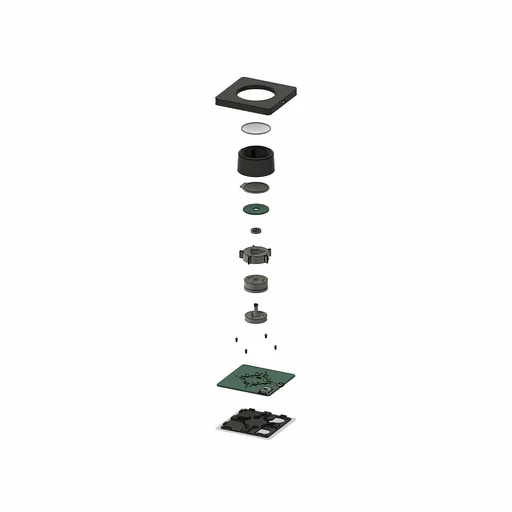
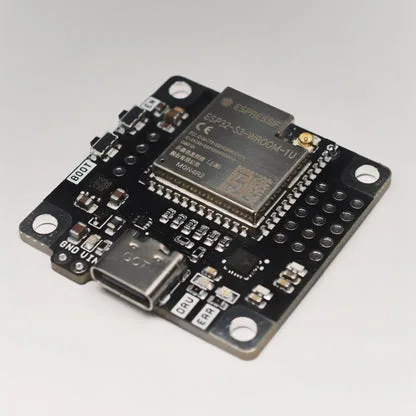
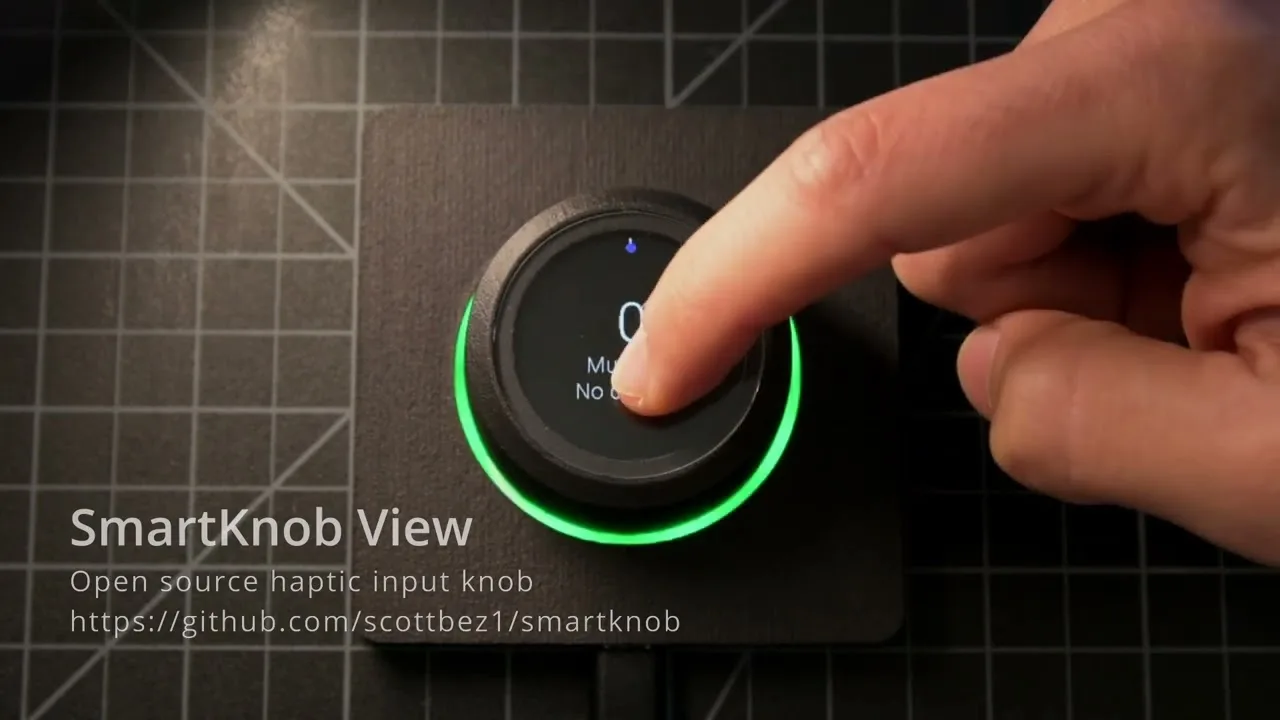
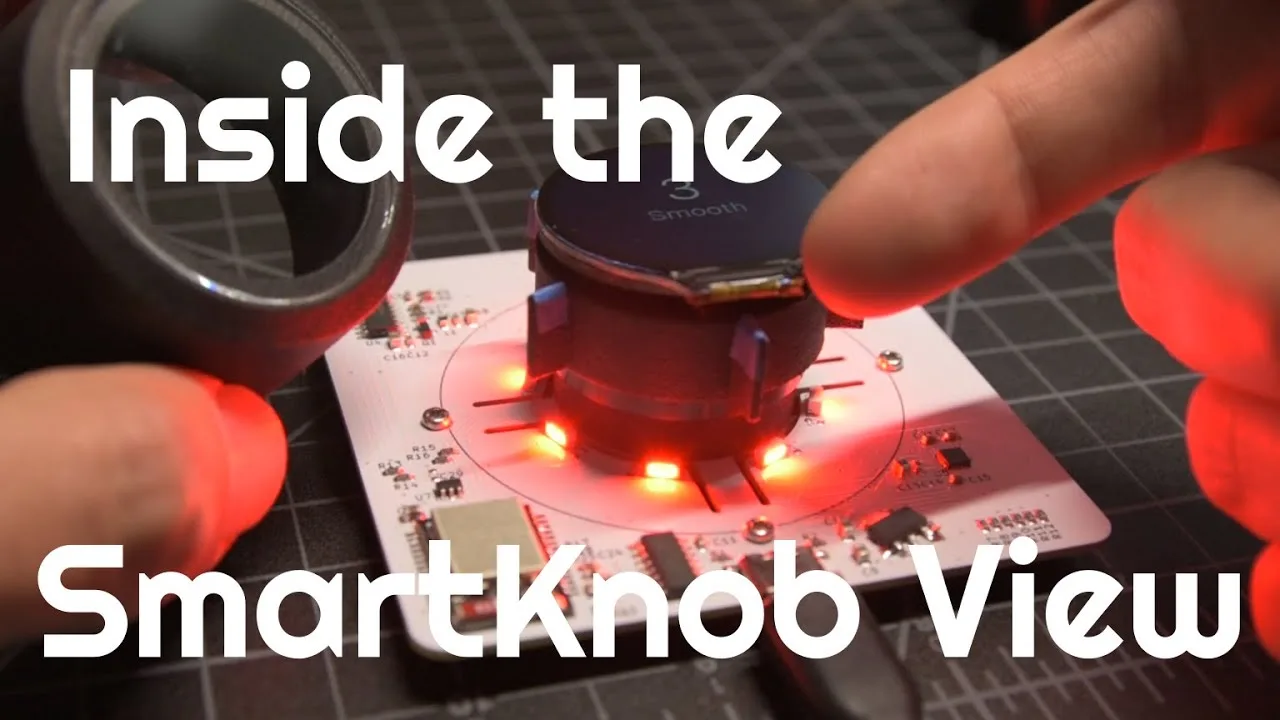
Photos: scottbez1/smartknob
Key Facts
- Chip: ESP32 (later revisions ESP32-S3)
- Motor: gimbal BLDC + TMC6300
- Sensor: MT6701 magnetic encoder
- Display: 1.28in round GC9A01 LCD
About This Project
Scott Bezek's SmartKnob uses a small brushless motor driven by FOC so the knob can feel like it has clicks, springs or hard stops that change in software. A round LCD sits in the center of the knob and an ESP32 runs the motor control and UI. The project sparked many forks and spin-offs. Note that the original motor is hard to source, so check the repo issues for alternatives. Advanced build with custom PCBs.
Source & Attribution
Parts Needed
- SmartKnob View base PCB (ESP32-S3) and screen PCB (use the interactive BOMs)
- Hollow-shaft BLDC gimbal motor (the specific model in the BOM)
- TMC6300 motor driver, MT6701 magnetic encoder (on the PCB)
- GC9A01 1.28in round LCD
- 3D-printed/CAD enclosure parts, screws, and SMD soldering tools
Steps
- 1
Check the build is for you
The author says it's not yet plug and play. It needs advanced SMD soldering, and the auto-generated BOMs aren't fully tested. Read the README and Discord before ordering anything.
- 2
Order PCBs and parts
Use the Base PCB and Screen PCB interactive BOMs (or the combined CSV) to buy parts, and order the boards from the repo's fabrication files.
- 3
Assemble
Solder the boards, fit the motor with the LCD's flex running through the hollow shaft, and assemble the enclosure from the 3D CAD.
- 4
Build firmware
Open the firmware in PlatformIO and upload over USB-C (the board has a CH340 for serial).
- 5
Calibrate
On first run, use the serial console to run the motor calibration so the encoder and motor alignment are learned.
- 6
Use it
Try the built-in demo modes (detents, bounded ranges, springs). Developers can connect it to a PC or Home Assistant through the serial protocol or the community forks.
Not included: 3D-printed case, wire, solder, USB cable
Related Projects