GaggiMate: ESP32 smart-control upgrade for Gaggia espresso machines
Adds a touchscreen, PID temperature control, brew timer and steam modes to a Gaggia Classic via ESP32 boards.
Photos
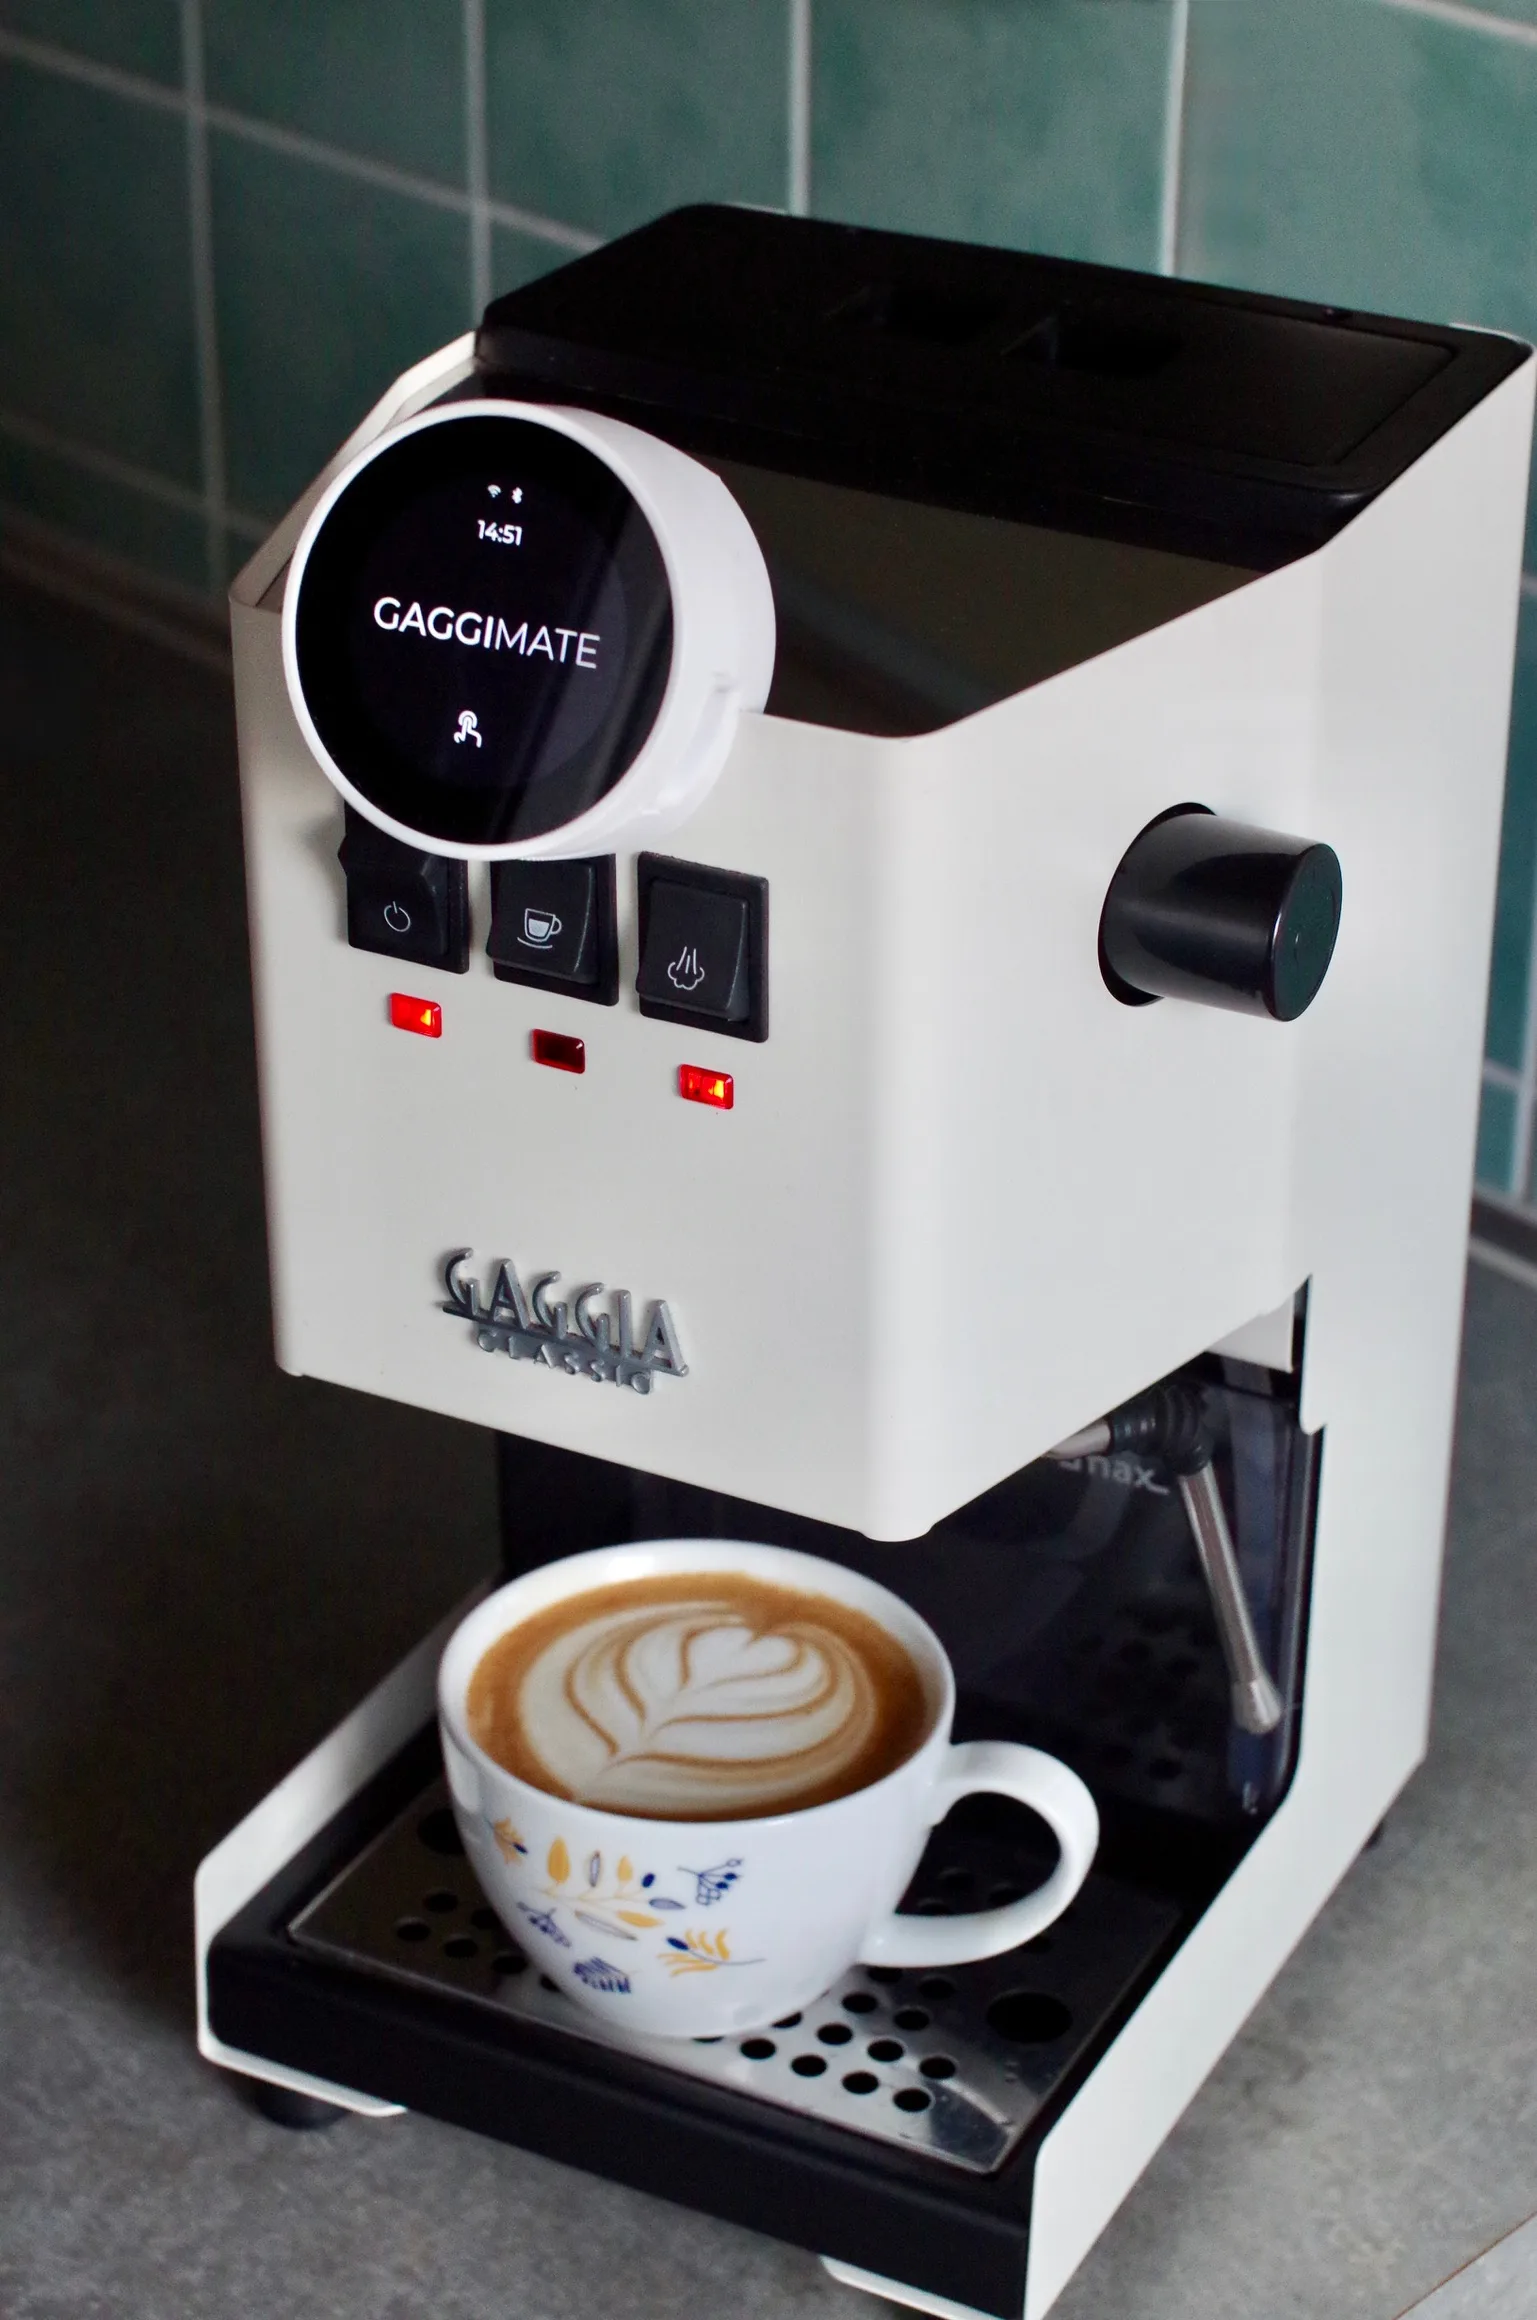
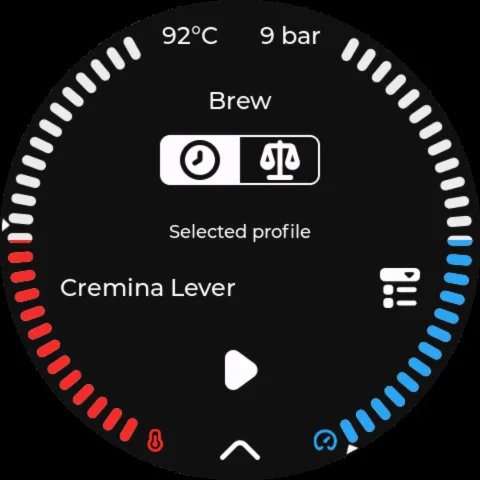
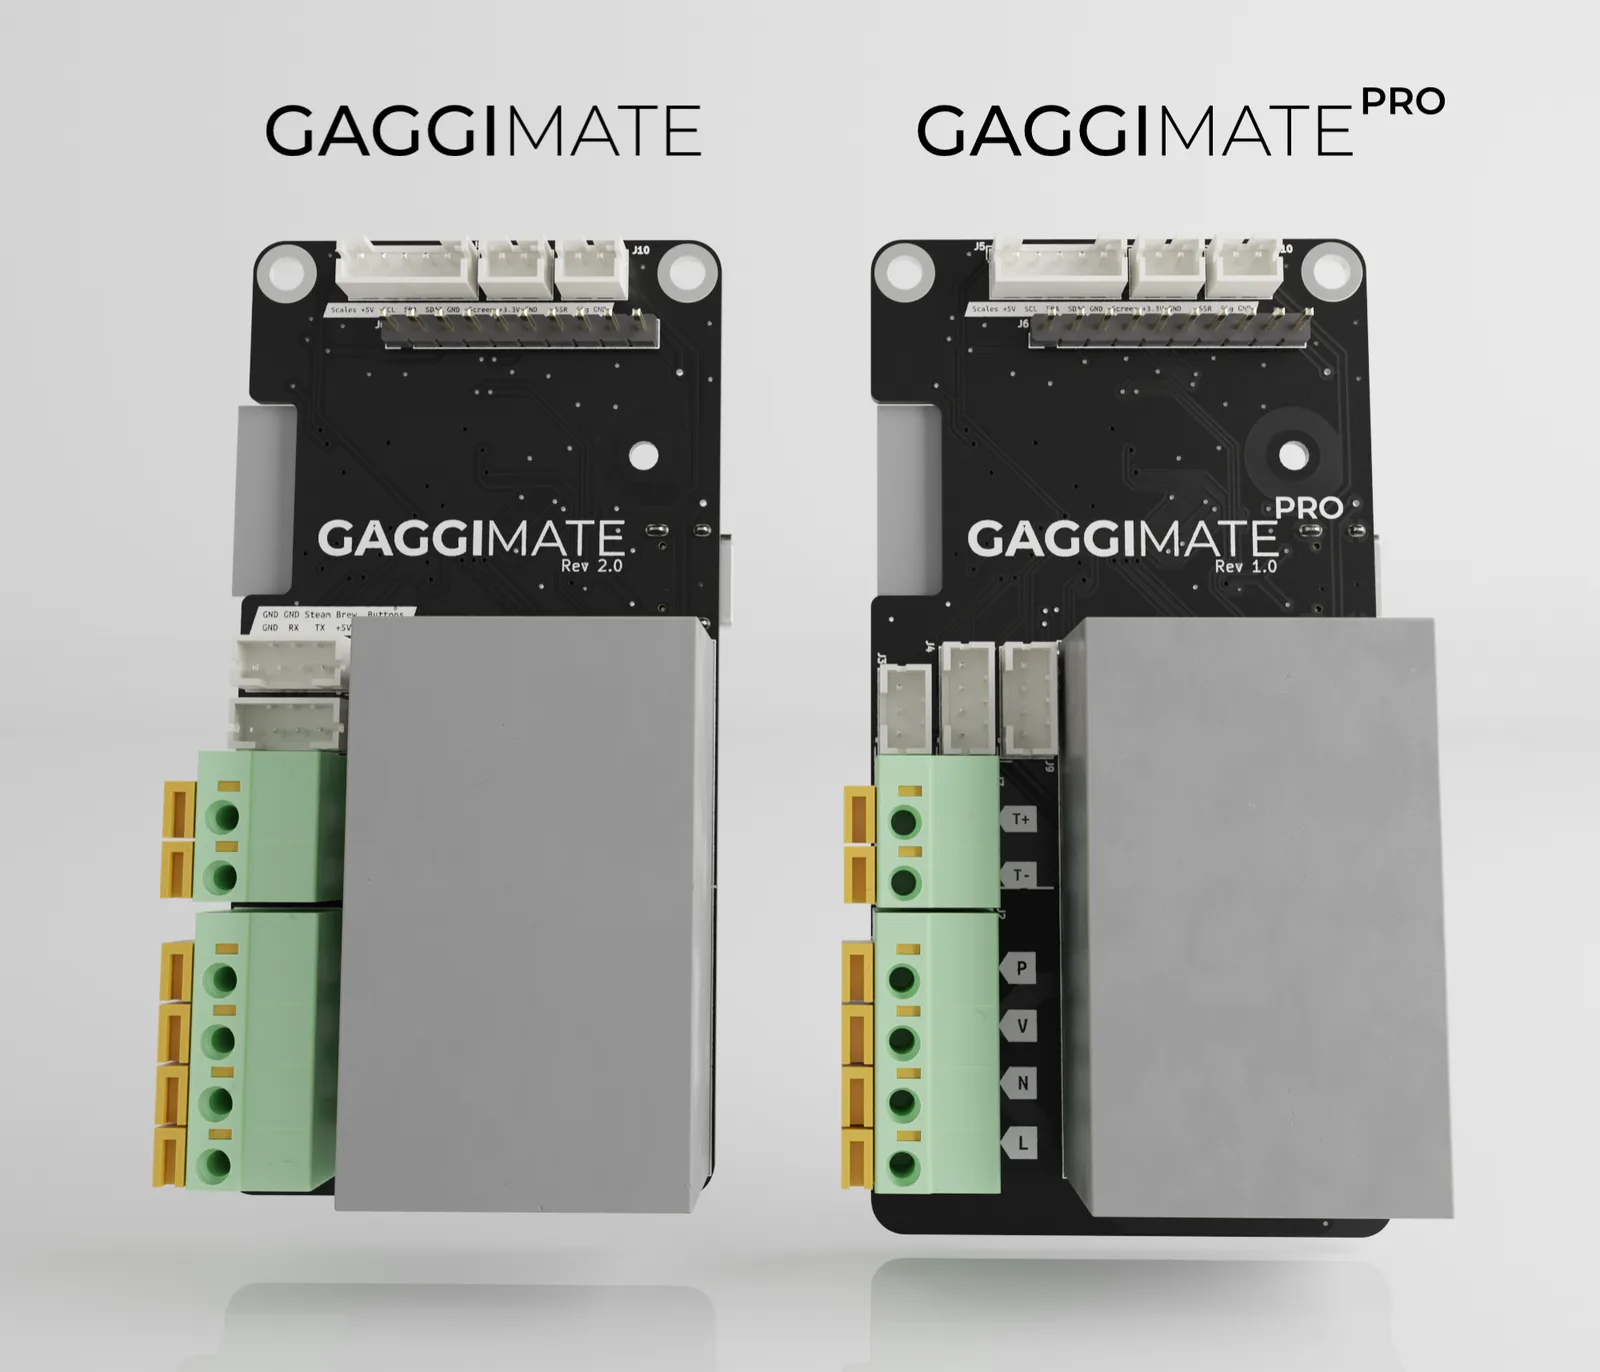
Photos: jniebuhr/gaggimate
Key Facts
- Chip: ESP32-S3 (display) + controller board
- Display: round touch screen
- Control: PID boiler temperature, pump, solenoid
- Safety: mains voltage
About This Project
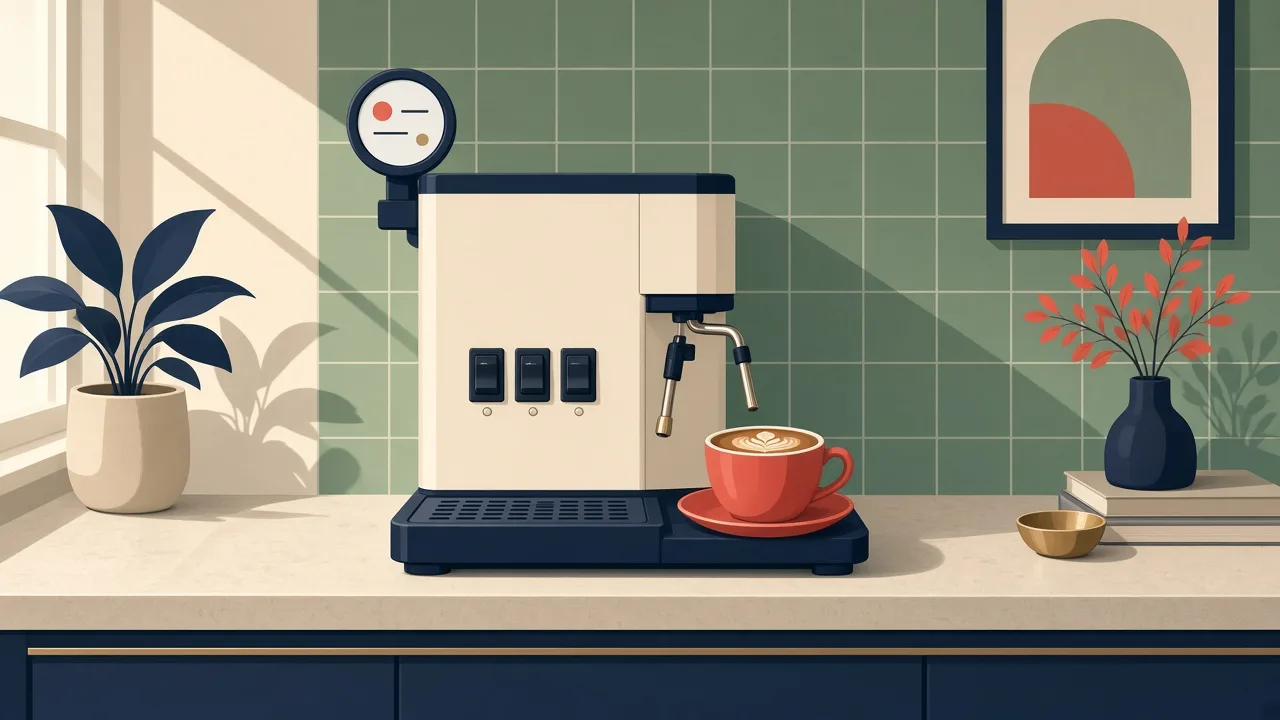
GaggiMate retrofits Gaggia espresso machines with a round touch display and a controller board that manages boiler temperature, pump and valve. You get PID temperature control, brew timers, steam and hot-water modes, and safety shutoffs, plus an active community. Kits are sold by the project, and the code is open under a non-commercial licence. This involves mains voltage inside an appliance, so it is only for experienced builders.
Source & Attribution
Parts Needed
- GaggiMate kit (round ESP32-S3 display + controller board), or boards built from the repo's hardware files
- Wiring harness and thermocouple/sensor for your machine
- 3D-printed display mount
- USB data cable
Steps
- 1
Read the safety notes
This modification wires into a mains-powered appliance. Unplug the machine, follow the docs exactly, and leave the job to a qualified person if you aren't confident.
- 2
Get the hardware
Buy the kit from the 'How to buy' section, or have the controller PCB made from the repo's hardware files.
- 3
Install in the machine
Following the GaggiMate docs, fit the controller and connect the boiler, pump, solenoid and temperature sensor in place of the stock controls.
- 4
Flash the firmware
Use the web flasher from the documentation to install the display and controller firmware over USB.
- 5
Configure
Connect the display to Wi-Fi, set your brew and steam temperatures, and create shot profiles. Optionally connect it to Home Assistant or use the WebSocket API.
- 6
License note
The design is CC BY-NC-SA 4.0. You're free to build and modify it, but you can't sell it commercially.
| Part | Qty | Role | Est. Price | Buy |
|---|---|---|---|---|
Shown as creator specifies; mains-powered appliance | 1 | controller | $150–$250 | View |
Not included: 3D-printed case, wire, solder, USB cable
Related Projects