Clockwise: ESP32 HUB75 LED matrix wall clock with swappable faces
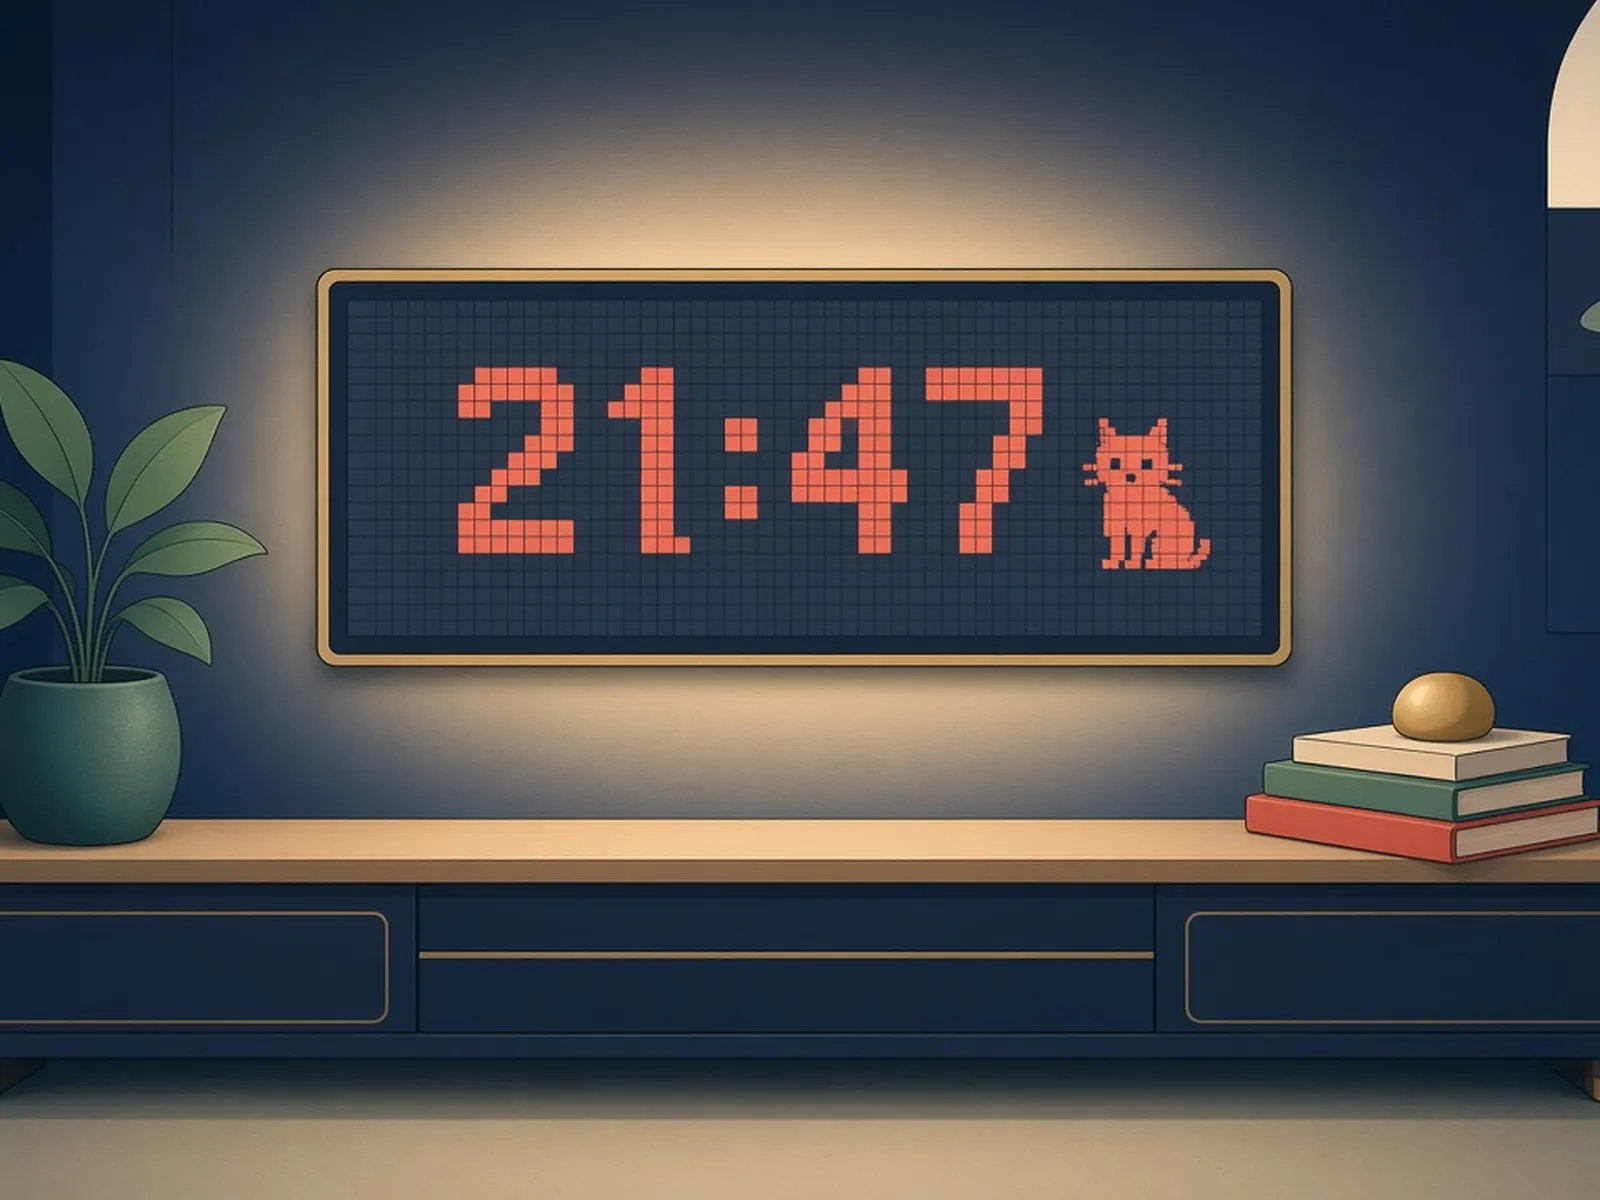
A DIY smart wall clock that drives a 64x64 HUB75 RGB matrix from an ESP32, with pixel-art clockfaces.
Photos
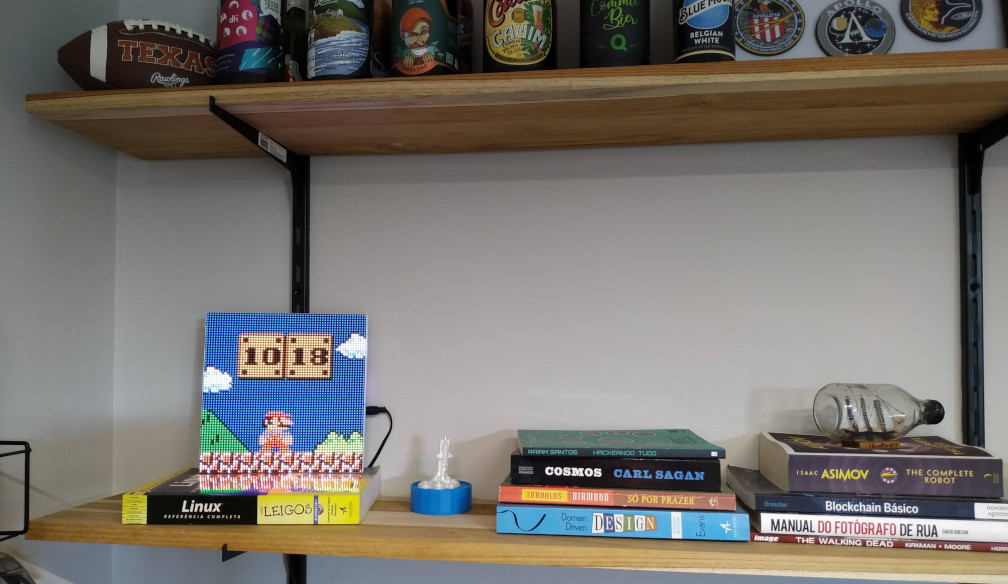

Photos: clockwise.page
Key Facts
- Chip: ESP32
- Display: 64x64 HUB75 RGB matrix
- Time: NTP over Wi-Fi
- Install: browser flasher
About This Project
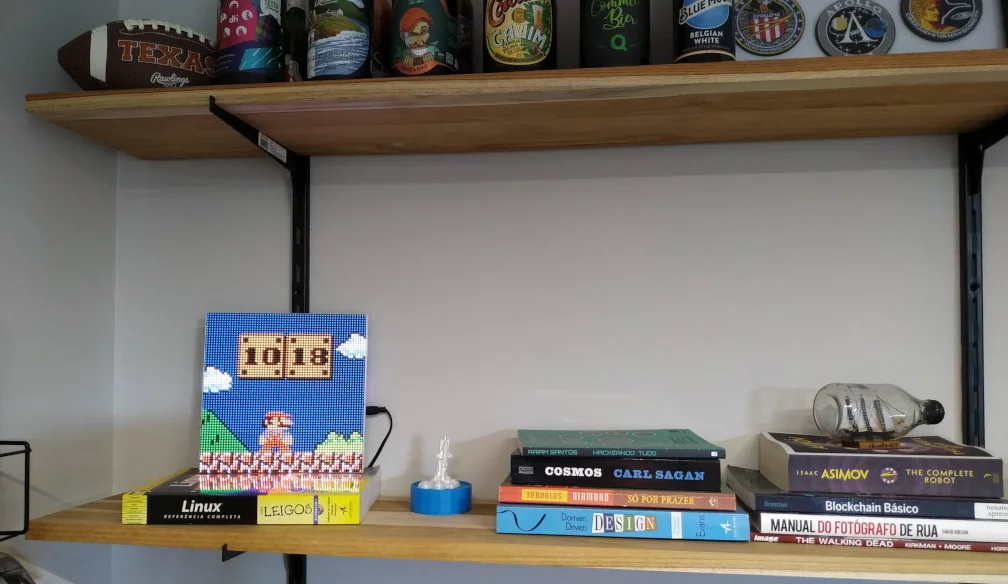
Clockwise is firmware for a wall clock made from a 64x64 HUB75 RGB LED panel and an ESP32. It ships several pixel-art clockfaces (including Mario- and Pac-Man-inspired designs), configures over a web page, and syncs time over NTP. The project site offers a browser flasher, so you can go from parts to working clock with almost no code. It is a great intro to HUB75 panels and the ESP32 DMA matrix library.
Source & Attribution
Parts Needed
- ESP32 dev board
- 64x64 HUB75 RGB LED matrix (P3 or similar)
- 5V 4A power supply
- Jumper wires, or the WiseShield-32 PCB kit for a clean build
Steps
- 1
Wire the matrix
Connect the HUB75 input to the ESP32 as shown on the project wiki, or plug both into the WiseShield-32 PCB. Power the panel directly from the 5V supply, not through the ESP32.
- 2
Flash from the browser
Open the Clockwise web flasher in Chrome or Edge, connect the ESP32 over USB, pick a clock face and follow the on-screen steps, which include entering your Wi-Fi details.
- 3
Open the web settings
Once it's on your network, browse to the clock's IP address to set your time zone, rotation and clock face.
- 4
Fix display quirks
If the colours are swapped, change the RGB order setting. If you see glitches, set the matrix driver chip (e.g. FM6124), I2S speed and E-line pin in the advanced settings.
- 5
Customise (optional)
Developers can build their own firmware or clock faces with PlatformIO or ESP-IDF, using the Flashing section of the wiki. The Canvas faces load their designs from a URL.
Not included: 3D-printed case, wire, solder, USB cable
Related Projects