Raspberry Pico Pocket Gamer: handheld console with touch LCD
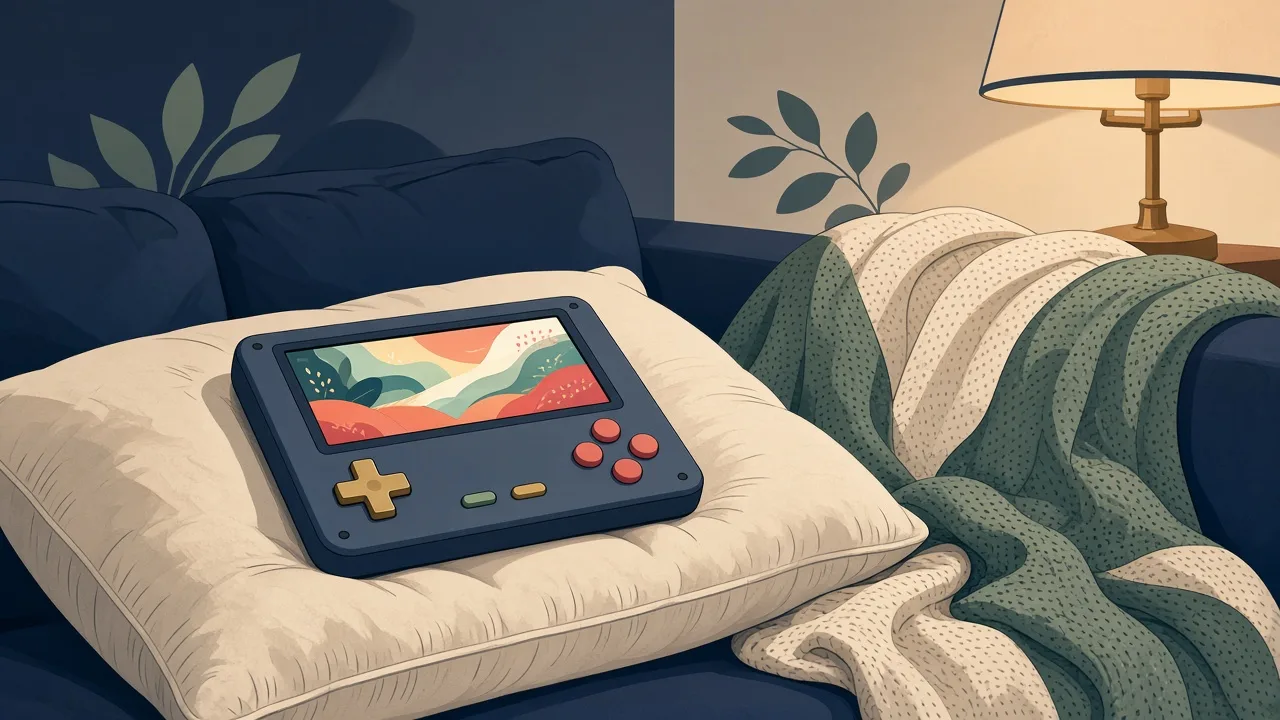
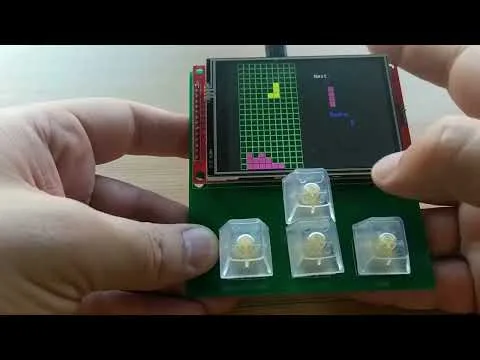
A pocket game console on the Raspberry Pi Pico with a 3.2in ILI9341 touchscreen and 14 built-in games.
Photos
Photos: GrgoMariani/Raspberry-Pico-Pocket-Gamer
Key Facts
- Chip: RP2040
- Display: 3.2in ILI9341 + XPT2046 touch
- Input: 5 mechanical switches + touch
- Games: 14 included
About This Project
This MagPi-featured project builds a handheld console around a Pico and a 3.2in ILI9341 display with resistive touch, plus five mechanical buttons. Fourteen games ship with it (Snake, Pong, 2048, Tetramino, Breakout and more). Optional Gerbers let you make a custom PCB. A neat showpiece of what a bare RP2040 can do for kids and beginners.
Source & Attribution
Parts Needed
- Raspberry Pi Pico (RP2040)
- 3.2in ILI9341 SPI LCD with XPT2046 touch
- 5 mechanical keyboard switches (+ keycaps)
- PCB from the repo's gerbers (optional) or perfboard and wires
Steps
- 1
Wire the display
Connect the LCD to the Pico pins listed in the README: CS 16, RESET 17, DC 18, SDI 7, SCK 6, SDO 4, LED 26 (or 3V3). Touch uses T_CLK 10, T_CS 21, T_DIN 11, T_DO 8 and T_IRQ 20.
- 2
Wire the keys
Connect the switches to pins 0 (Menu), 15 (Up), 27 (Down), 28 (Left) and 14 (Right), with the other side of each switch to GND. Or order the PCB from the gerbers in the extras folder.
- 3
Build
Set up the Pico SDK, then run mkdir build, cd build, cmake .., and make.
- 4
Flash
Hold BOOTSEL, plug in the Pico, and copy build/PocketGamer.uf2 onto it.
- 5
Try it on PC (optional)
The extras folder includes a PixelGameEngine version. Run make run there to play without the hardware.
Not included: 3D-printed case, wire, solder, USB cable
Related Projects