Pwnagotchi: e-ink Wi-Fi learning pet on Pi Zero
A Raspberry Pi Zero W with an e-ink face that learns to capture Wi-Fi handshakes, framed as a virtual pet.

Photos
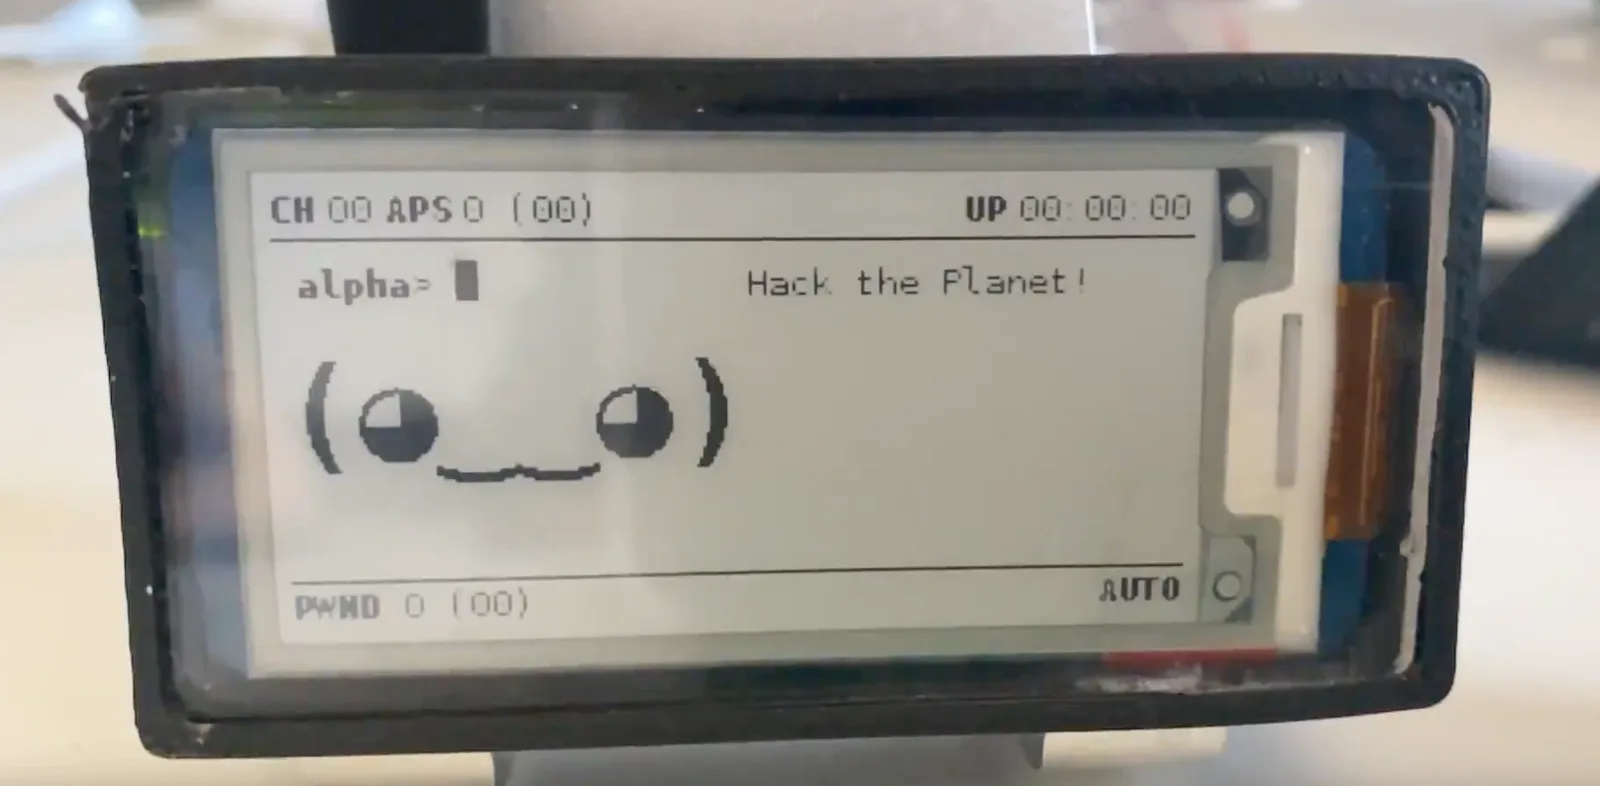
Photos: evilsocket/pwnagotchi
Key Facts
- Board: Raspberry Pi Zero W
- Display: Waveshare 2.13in e-paper HAT
- Radio: on-board Wi-Fi in monitor mode
- AI: deep reinforcement learning
About This Project
Pwnagotchi combines bettercap with a reinforcement-learning agent so a Pi Zero W with a small e-ink display can roam and capture Wi-Fi handshakes more efficiently over time. The e-ink face shows its mood and status, which is why it is often built as a cute desk or wearable pet. This is security-research / educational tooling – use only on networks you own or have permission to test.
Source & Attribution
Parts Needed
- Raspberry Pi Zero W (or Zero 2 W with a compatible community image)
- Waveshare 2.13in e-Paper HAT
- microSD card (8GB+)
- USB power bank or PiSugar battery
Steps
- 1
Legal first
Capturing handshakes from networks you don't own is illegal in many places. Limit it to your own lab network or authorised testing.
- 2
Flash the image
Download a Pwnagotchi image (the original or an actively maintained community fork) and write it to microSD.
- 3
Create the config
Before first boot, create the config.toml the docs describe on the boot partition. Set the name, the display type (waveshare_2 or similar) and a whitelist of your own networks.
- 4
Boot and connect
Attach the e-paper HAT and boot. Plug into a computer through the Pi's data USB port, and it shows up as a USB network device so you can reach its web UI or SSH.
- 5
Let it learn
Leave it running. It shows its mood and learning progress on the e-ink face, and you can download captured handshakes over USB.
- 6
Tips
The original project is no longer actively developed. Community forks keep it running on newer hardware and displays.
Not included: 3D-printed case, wire, solder, USB cable
Related Projects